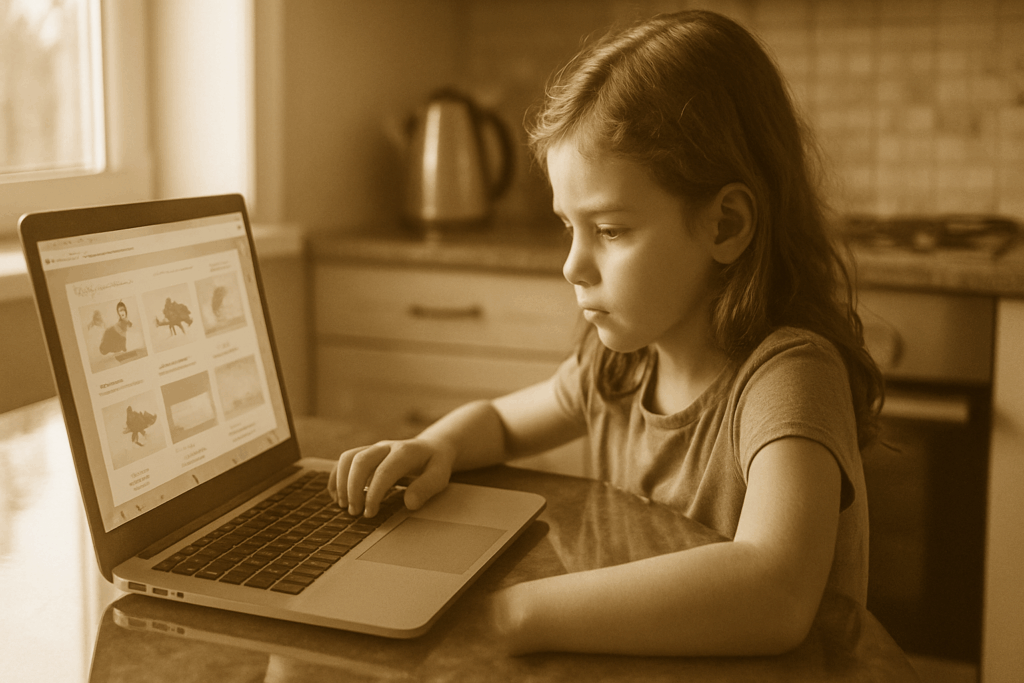
Why DIY Learning Games Work
You don’t need fancy gadgets or color coded charts to help a child learn. A set of sticky notes, an old sock, or a couple of plastic cups can go a surprisingly long way. What matters is how you use them. Simple materials leave space for creativity and that’s where real learning happens.
Hands on play locks in core skills. When kids sort, build, match, or move, they’re not just staying busy they’re making connections that stick. DIY games push them to think for themselves, problem solve, and stay curious. It’s learning that doesn’t feel like a chore.
These kinds of games also open doors for screen free bonding. No flashy apps needed. Just a few quiet minutes (or loud ones, if that’s more your kid) spent laughing and learning together. And the best part? You can tailor each activity to your child’s pace, interests, and ability changing things as they grow.
To find activities that align with the way your child processes the world, check out these learning style resources.
Game 1: Alphabet Treasure Hunt
Grab some sticky notes, a pen, and a few toys your child loves. Write individual letters on the notes start with uppercase if that’s what they’re learning, or go with lowercase for a challenge. Place the letters around the house, on furniture, walls, or even tucked slightly inside a toy basket. Keep it visible but fun to find. For added excitement, attach each note to a toy, turning every discovery into a mini celebration.
Your child’s task: find the letters and match them either visually (“this is A”) or by sound (“A says /a/”). You can prompt with, “Can you find the letter M?” or let them hunt freely and talk it out as they collect. Either way works.
This simple game sharpens letter recognition and supports early phonics. For younger kids, stick with just a few letters. If attention wanders fast, set a timer and race to find them before the bell. For older or more advanced learners, add blends or even simple words. You’ve got room to scale.
No screens, no stress just movement, discovery, and literacy, packed into 15 minutes of play.
Game 2: Math Bowl Knockdown
Simple setup. Big payoff. Grab some plastic cups, a permanent marker, and a soft ball. Write a different math problem on each cup addition, subtraction, or times tables depending on your child’s level. Stack the cups in a pyramid or line them up like pins.
Here’s how it works: your kid rolls or tosses the ball to knock over a cup. Whatever falls, they have to solve the problem on it to earn points. No answer, no score. You can make it competitive with siblings or hit a personal best in solo rounds.
This game sneaks in mental math while working on hand eye coordination. Adjust difficulty by scaling up the math or narrowing the target size. It’s math class, minus the desk and way more fun.
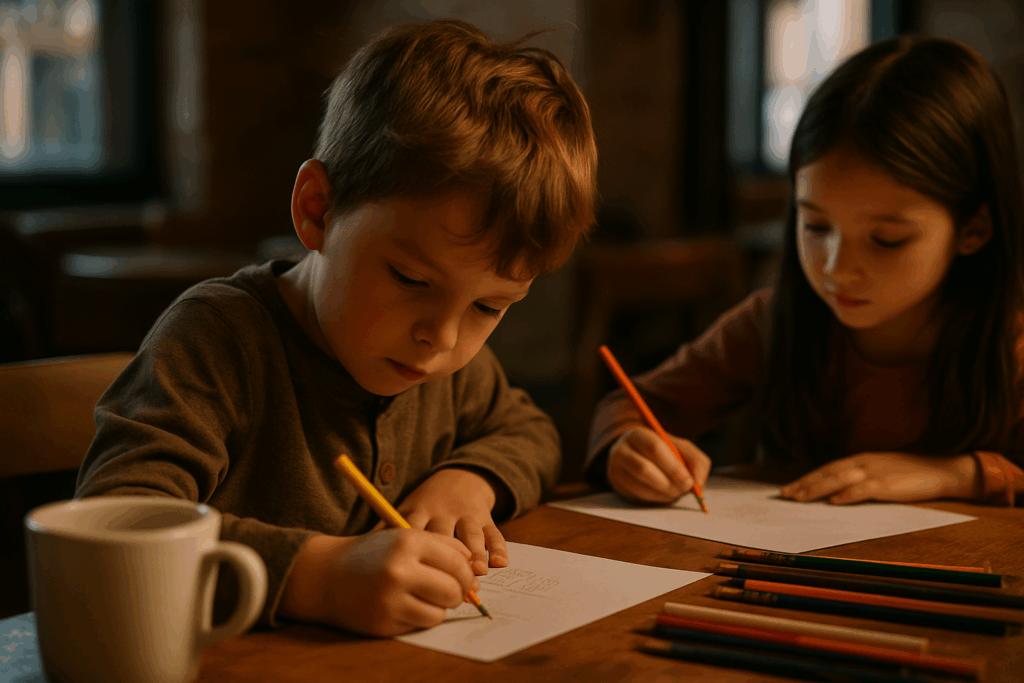
Game 3: Story Dice Adventure
Grab a few dice regular or from old board games and some paper and a marker. On each face, draw simple symbols or write words: a cat, a sun, the word “jump,” whatever inspires you. You want each roll to spark something different.
Here’s how it works: your child rolls the dice and creates a story using whatever shows up. Three suns and a monster? Sounds like a desert showdown. This not only boosts vocabulary but gets kids thinking on their feet.
To give it more shape, throw in a sentence starter like “One day, in the middle of the storm…” or choose a theme like “mystery” or “friendship.” For older kids or group play, set a timer or add extra dice to ramp up the challenge.
It’s pure storytelling on the fly no fancy tools, just imagination in motion.
Game 4: Homemade Memory Match
Materials needed: a stack of index cards and some markers. That’s it.
Draw or write matching pairs on the cards sight words, simple math problems and answers, shapes, animals, whatever fits your child’s learning goals. Shuffle, lay them out face down, and you’ve got a no frills memory game that works.
Kids flip two cards at a time, trying to find a match. It’s direct, analog, and oddly satisfying. But more importantly, it sharpens focus, builds memory, and reinforces whatever content you’ve put on the cards. Keep it quick, keep it fun. You can tweak the difficulty whenever your kid’s ready for more.
Game 5: Color Sorting Relay
This one’s built for movers and doers. Grab a handful of colored objects buttons, socks, LEGO bricks, you name it and a few cups or bowls to match. Spread the items across a room or hallway. Set a timer and challenge your child to race and sort the objects into the right containers as fast as they can.
It’s simple, but it’s doing powerful things. Kids practice categorizing by color, start noticing visual patterns, and flex their spatial reasoning muscles whether they realize it or not. The rush of the timer keeps energy high and focus sharp. Want to level it up? Add a one hand rule, crawl only movement, or make them sort by two attributes (color and size, for example).
Sometimes the best learning happens when the game feels like just that a game.
Tips for Maximum Impact
Making DIY learning games work for your child doesn’t require perfection it just takes intention. Here are some quick strategies to maximize engagement and ensure every play session has lasting impact:
Keep Sessions Short and High Energy
Aim for 10 15 minute sessions to keep attention spans intact.
Stop while the game is still fun this builds positive associations with learning.
Use energetic cues (music, countdowns, movement) to maintain excitement.
Celebrate Small Wins
Offer simple praise for effort and focus, not just for getting the right answer.
Create mini milestones e.g., “You matched 5 pairs today! That’s focus!”
Consider a progress board or sticker chart to track completed activities.
Adapt to Your Child’s Mood and Growth
Not every game works every day choose based on your child’s energy and mood.
Rotate games weekly to match new skills, topics, or interests.
Involve your child in game setup to boost ownership and motivation.
Match Games to Learning Styles
Every child takes in and processes information differently. Choosing activities that align with how they learn whether visual, auditory, kinesthetic, or a mix can make all the difference.
Observe what types of play your child naturally gravitates toward.
Customize instructions (e.g., say it, show it, act it out) to spark deeper understanding.
For more on how to tailor play styles, explore these learning style resources.
Keep It Simple, Keep It Fun
Learning Doesn’t Require Fancy Tools
One of the most powerful truths about education at home is this: you don’t need high tech gadgets or expensive materials to help your child learn. In fact, some of the best learning experiences come from things you already have around the house.
Empty cardboard boxes become building blocks for early engineering skills
A set of measuring cups turns into a math and volume lesson
Old magazines offer opportunities for letter hunts, collages, and storytelling
The key is to see these items not just as everyday objects but as learning opportunities waiting to happen.
The Power of Creativity and Intentionality
It’s your mindset that turns ordinary tasks into meaningful learning. When you approach play with intention, even the simplest activity becomes an educational tool.
Use mealtime to count, compare sizes, or introduce fractions
Turn clean up time into a sorting or sequencing game
Ask open ended questions that spark curiosity, like “What else could we do with this bottle cap?”
By staying curious and flexible, you’ll find learning moments where you least expect them. At the end of the day, it’s not about being perfect it’s about being present, curious, and willing to explore learning together.
Empowered with a creative mindset, nearly anything in your home can be transformed into a tool for discovery.