Invisible Ink with Lemon Juice
Materials You’ll Need
To get started with this classic invisible ink experiment, gather the following simple items:
- Lemon juice (fresh or bottled works)
- A cotton swab or fine paintbrush
- Plain white paper
- A heat source (lamp, light bulb, or iron)
These household items are all you need to create hidden messages that appear like magic.
The Science Behind It
Invisible ink made from lemon juice works due to the chemistry of oxidation. Here’s how it happens:
- Lemon juice contains mild acids and organic compounds.
- When you write with it, the liquid appears invisible once it dries.
- Applying heat causes the organic compounds in the juice to oxidize.
- This oxidation turns the dried lemon juice brown, revealing your hidden message.
This combination of acid and heat reaction is a simple but powerful example of how chemical changes can be used in practical ways.
Tips for Best Results
To make sure your invisible ink project works well, follow these best practices:
- Use a thin, even layer of lemon juice when writing.
- Let the message dry completely before applying heat.
- Avoid using too much lemon juice, which can soak or wrinkle the paper.
- Use a consistent heat source and watch closely to avoid burning the paper.
Expect the writing to show up gradually. The brown color may vary depending on how evenly the lemon juice dries and how much heat you apply. With a little patience and care, your invisible ink message will emerge clearly.
Introduction
Vlogging hasn’t just survived the past few years—it’s adapted. Through algorithm changes, new platforms, and shifting viewer habits, creators have found ways to stay relevant. What started as raw, personal uploads has evolved into a powerful medium that blends storytelling, tech, and community.
But 2024 isn’t just more of the same. Viewer expectations are rising, platforms are tweaking what gets rewarded, and creators are being called to sharpen their edge. It’s not about going viral—it’s about staying consistent, smart, and connected with a niche audience. Vloggers who treat their channel like a craft, not a catch-all, are the ones pulling ahead. There’s no one-size-fits-all anymore, which is exactly why creators should be paying attention.
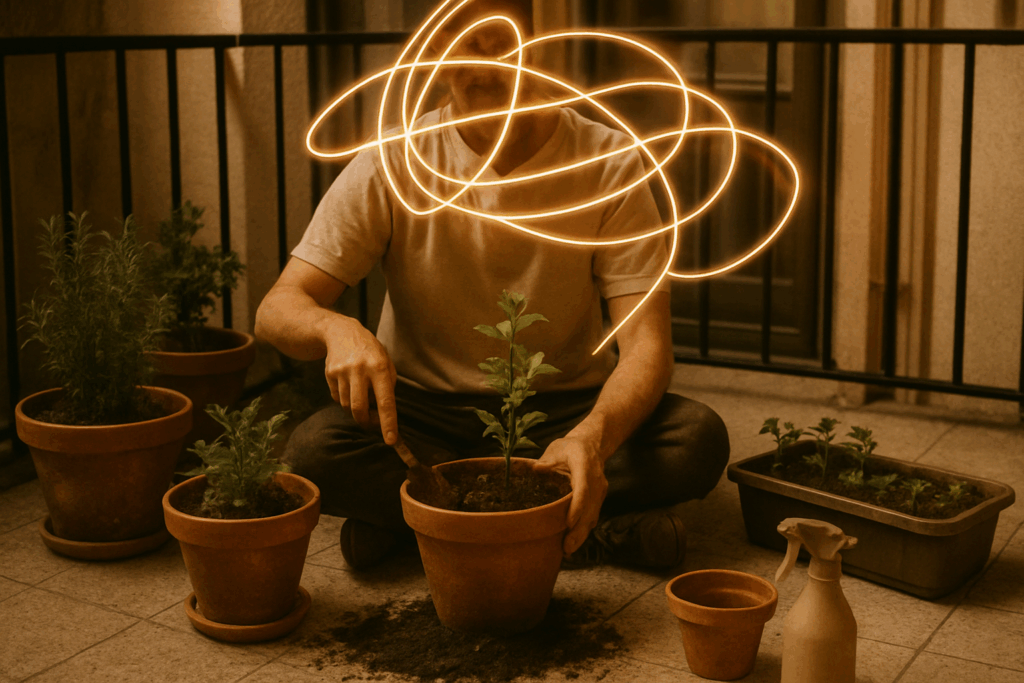
Safety first, no matter how simple the project looks. If younger kids are involved, stay close and keep an eye on everything. Sudden messes, sharp tools, or even just the wrong kind of glue can turn into problems fast. Gear up, too. Gloves and goggles aren’t just for science class — they matter when you’re cutting, mixing, or using anything you wouldn’t want near your eyes or skin.
Before you start, set up your space. Cover the table with newspaper or old towels. Have trash bags, wipes, and extra tools within reach. Organized prep saves you from unwanted surprises later. You want to focus on creating, not scrambling for paper towels halfway through.
The Science of Layered Liquids
Simple Kitchen Materials
You can spark curiosity and teach basic science using common household items. For this activity, all you need are:
- Sugar
- Water
- Food coloring
- Clear cups or jars
What Kids Learn: Density and Layering
This experiment is a hands-on way to explore how different sugar concentrations affect liquid density. When done right, the colored layers stack on top of each other instead of mixing.
Key learning points include:
- Understanding how sugar levels affect density
- Observing how liquids of different densities interact
- Practicing patience and precision while pouring
Why It’s a Hit with Kids
Few experiments offer this level of instant satisfaction. The layers create a colorful, striped effect that looks like magic but feels like science.
- Immediate visual impact keeps kids engaged
- Playful way to introduce scientific vocabulary
- Great for all ages and easy to scale for classrooms or home learning
If you’re looking for a low-effort, high-impact vlog segment, the classic baking soda and vinegar experiment still delivers. All you need is baking soda, white vinegar, and some food coloring to dial up the visual appeal. Drop the food coloring into a clear container, spoon in the baking soda, then pour vinegar on top. The result is a fizzy eruption that pops on camera.
Here’s what’s happening: vinegar (acetic acid) reacts with baking soda (sodium bicarbonate), creating carbon dioxide gas. That’s what causes the bubbling explosion. It’s simple chemistry but plays well with all kinds of audiences—family vloggers, DIY creators, even science-focused micro niches.
To manage the mess, do the experiment inside a tray or deep pan. For a neater on-camera shot, layer the baking soda and food coloring first before adding vinegar slowly so you control the effect. Want to scale it up? Try bigger jars, more soda, or split-screen angles with different colors. Vloggers can stretch this into challenges, tutorials, or even ASMR-friendly content without much prep or cleanup.
Making slime might seem like pure fun, but there’s some straightforward science behind it. Start with three basic materials: white school glue, baking soda, and contact lens solution. The glue gives slime its base, the baking soda helps with thickening, and the contact solution contains boric acid, which acts as the activator.
In simple terms, when you mix these ingredients, you’re creating a polymer. Polymers are long chains of molecules that slide over each other, giving slime its stretchy, gooey texture. The boric acid in the contact solution links the chains in the glue, turning liquid into something more solid and elastic. Cool, right?
Once the base is ready, get creative. Add glitter, food coloring, or even small foam beads to tweak the look and feel. Want something fluffier? Mix in shaving cream. Prefer clear slime? Use transparent glue instead. Think of it as DIY chemistry meets design studio.
There’s no one perfect recipe. It’s about testing what works and playing with texture and color until it feels just right.
Want a fast, low-mess science experiment that actually keeps kids (and adults) curious? This one needs only basic supplies: a few clear cups, paper towels, water, and food coloring. That’s it.
Here’s the setup: fill every other cup with water and add a few drops of different food colors to each. Fold paper towels into strips and connect the cups—one end in a cup with colored water, the other in an empty one. Then wait.
Thanks to capillary action, the water crawls up the paper towel and into the next cup, mixing colors as it goes. Over time, you’ll see full rainbows forming in cups that were empty just an hour before. It’s simple, visual, and oddly satisfying to check on every hour.
Capillary action shows up in real life too—plants use it to pull water through their stems. So this one isn’t just fun, it’s also sneaky education.
One of the simplest and most effective hands-on science activities for kids is a plastic bag greenhouse. All you need is a resealable plastic bag, a damp paper towel, a few seeds, and a bit of patience. This setup teaches the early stages of plant growth in a way that’s visible and interactive.
Kids place the seeds inside the folded paper towel, moisten it with water, and seal it inside the plastic bag. Then it goes up on a sunny window. In just a few days, roots sprout and stems stretch toward the light, giving a front-row seat to germination.
This quick project introduces big concepts like the water cycle, photosynthesis, and what plants need to grow — without requiring a garden or messy soil. Perfect for early elementary classrooms or at-home curiosity sessions, it packs biology into a bag small enough to hang on a wall.
Curiosity is the entry point to learning. One of the simplest ways to spark it? Just ask “What if?” Ask it often. Ask it with your kids. What if water could move uphill? What if plants liked coffee? Once kids get into the habit of asking, they’ll start testing their own ideas—without needing a full lab setup.
Get a basic notebook and turn it into a science journal. Nothing fancy. Just a space to jot down questions, sketch setups, track results, take wild guesses. Over time, it becomes a quiet record of their thinking—what worked, what flopped, what changed.
The goal isn’t to raise child scientists (though cool if you do). It’s to help kids see how they can poke at the world and get feedback. So make it regular. Take Saturday mornings or lazy Sunday afternoons and let them try things. Mix baking soda with everything in the pantry. Chart bug sightings in the backyard. The more they explore, the more they own the habit—and curiosity sticks.
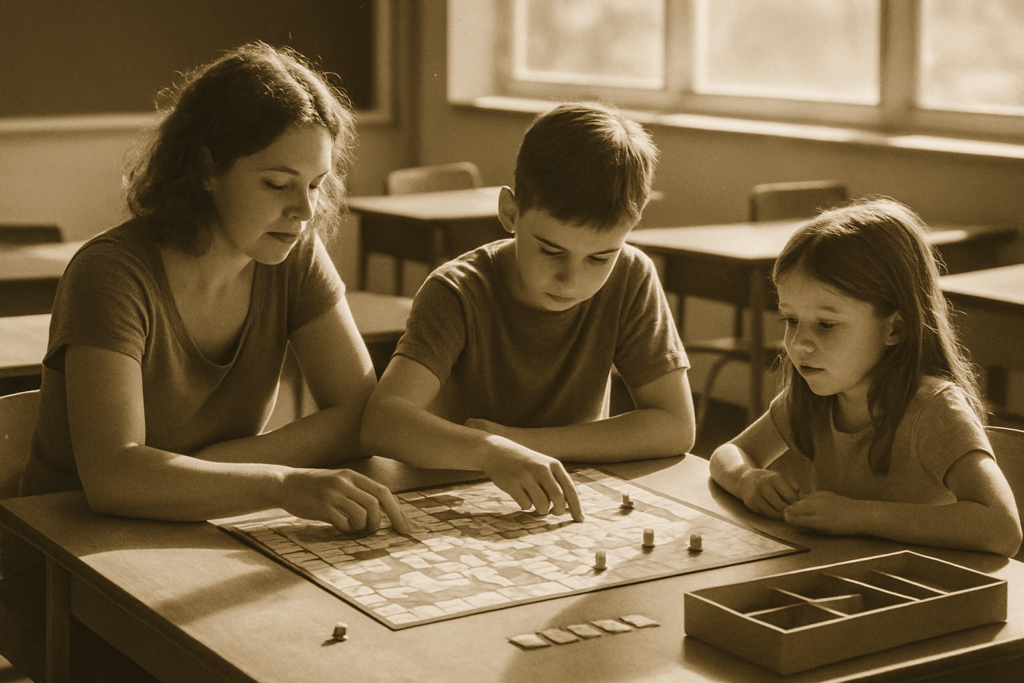
Looking to take a quick break from the camera and reconnect offline? Check out our guide on 10 Creative Weekend Projects to Do with Your Kids. These activities are low-pressure, high-reward ways to spend quality time while still flexing your creative muscles. Whether it’s a cardboard city build or a DIY science experiment, each project is designed to be fun, simple, and sneakily educational. Perfect for creators who need creative resets or just want to make memories with family.
You don’t need a lab coat to enjoy science. Vlogging in 2024 proves that more than ever. The world of online content creation has been through a lot — platform crackdowns, changing viewer habits, and floods of trendy formats. Still, vlogging kept going. Why? It’s flexible. It adapts. And it still connects on a human level.
Creators who stuck around through the chaos have learned one big lesson — attention spans may be short, but audiences still crave substance. The tools have changed, but the mission hasn’t: show up, tell your story, and make it resonate.
This year, change is speeding up. Algorithms are shifting how content surfaces. Short-form video is evolving, not declining. Viewers are getting pickier, and tech tools like AI are powering new workflows. If you’re vlogging today, you can’t afford to coast. 2024 isn’t the year of random uploads. It’s the year of smarter systems, clearer voices, and tighter communities.
The creators who’ll win? The ones who read the room, lean into what works, and keep things real.